Showing posts with label how to. Show all posts

Monday, January 27, 2014

Designing an RFID antenna - part 1


Designing an RFID antenna:


Basically I am motivated to replace the antenna on this RFID reader. The reader is really cheap, and fits my porpoise, its recognized as a USB keyboard.


My Idea is to build a new antenna that can be fitted into a PVC tube and have a usb "reading rod".

Hackaday has provided me with some information about this, but nothing useful about antenna modding.

Thanks a friend (Chris) I manage to get some technical documents (such as this,  this, this) about this matter, some turned to be really useful and cover basic subject (like Magnetism, Faraday's Law, Mutual induction) it really help me understand more about RFID, it sure brought me memories when I was in college, but could not find any decisive information on how to shape a new antenna.

I know antenna shapes and geometry are dependent on: Frequency (125 Khz in this case) and range of reading (of the tags) and number of turns. Of course many other items, but they are purely derivative from the two I mentioned first.

So I disassembled my rfid reader:


Up to here all done, simple building, now I will desolder the coil antenna, saving it in case of reusing it or take it as a model.


Desoldering was easy, two points, done! You can see below the antenna saved for future.


Now the best part, with 20 meters of copper wire I am planning to do some coils, in order to check which confirations works best.

 
Three basic squares using push pins, will serve two make the coils and test them.

I have 3 configurations to test:
a)50mm x 60mm
b)40mm x 50mm
c)35mm x 120mm

Tune in for future results!


Monday, May 20, 2013

How to Refurbish an original gameboy


Gameboy original
My old gameboy, the jewel I dreamed of as a kid. And finally, I bought this 2nd hand gameboy, and really used it ... after all the commercials I've seen, I got mine..
Time passed (this one is dated 1989), so it needed a refurbish. I read a lot about restoring. Here the steps:

1. Disassemble the GB


This is the worst part. Taking apart a gameboy, has its tricks, the greater are the triwing screws. The simple way is to get a screwdriver triwing (http://dx.com/p/large-triwing-trigram-screw-driver-6154), but there are two options:

Alternative A)Use a flash scredriver:


Alternative B) Make a triwing out of a pen:


Tried both, ended with using a flat screwdriver
My attemps


The disaster I made

I used bothe screwdrivers, one for getting the screw out (the first and hardest part) the other just to take it out.
The are 6 screws on the back of the case:
With patience and the links from above, you can figure out how to do this. The insides screws are cross, so no problem there.

2.Open Gameboy

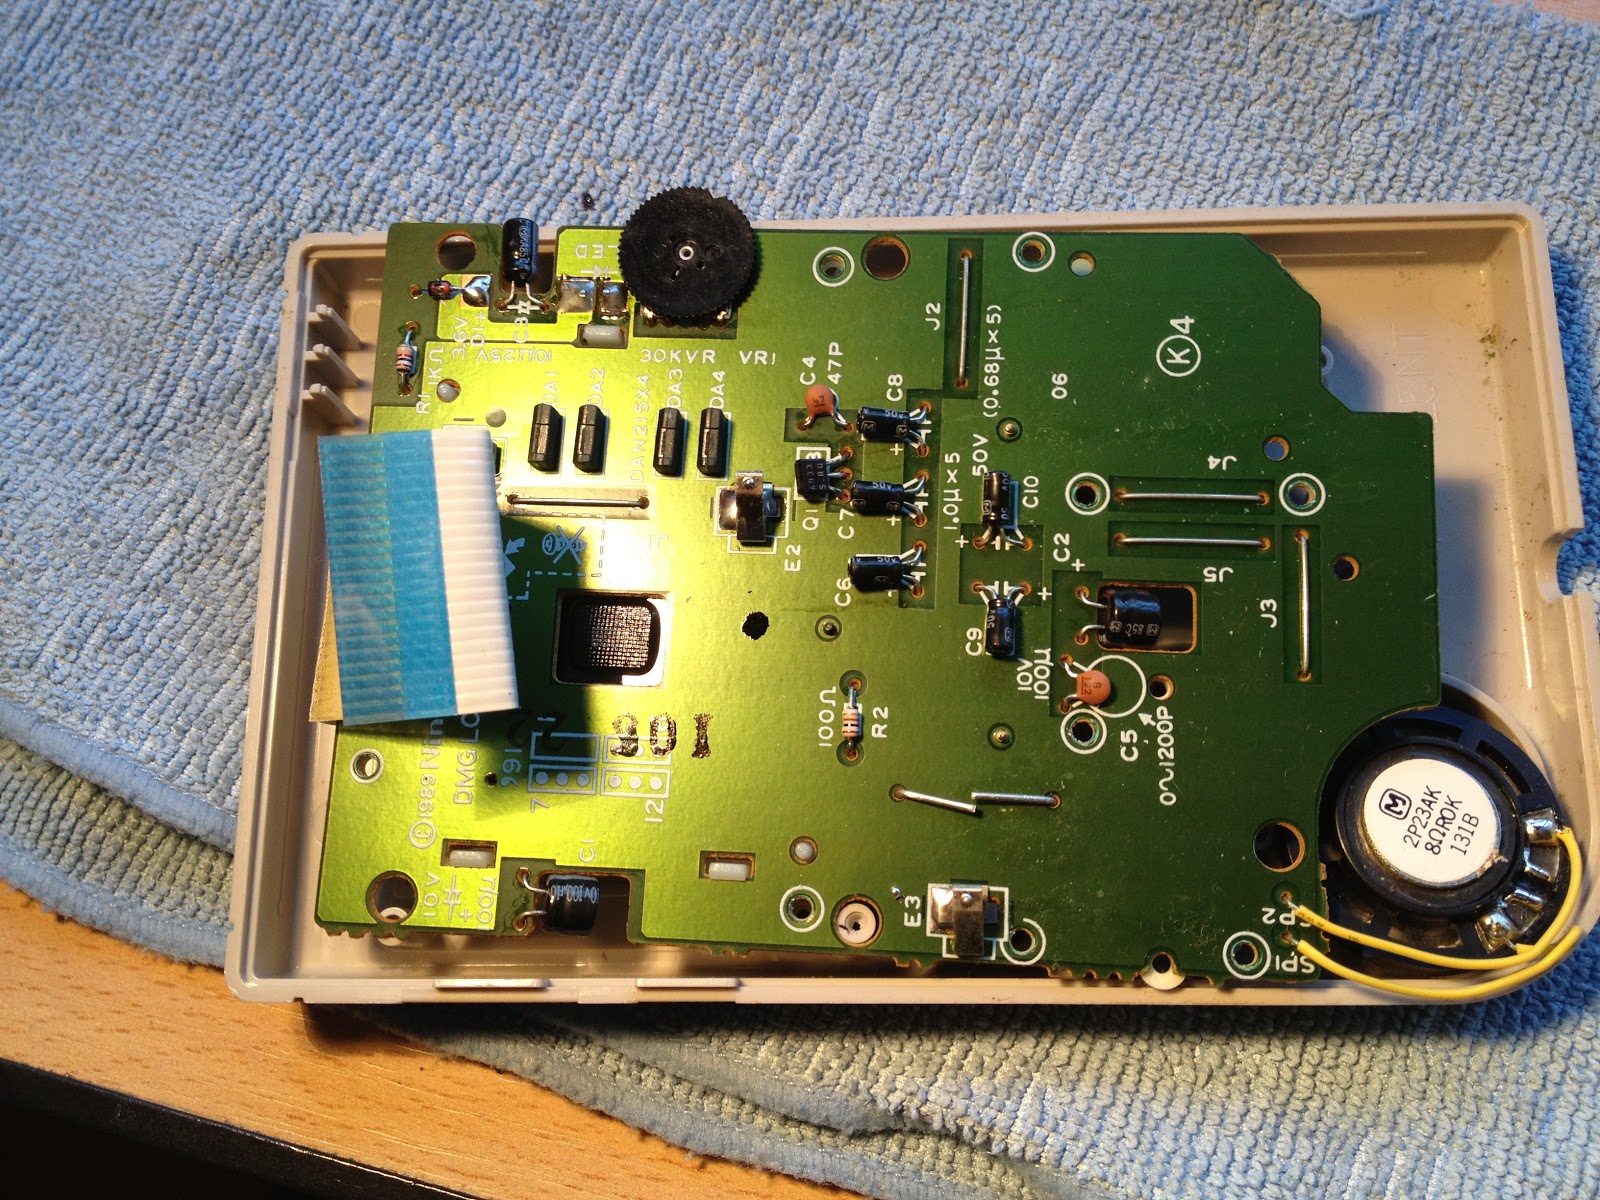
Once open , need to separate de LCD ribbon, you will end up with this two sides:
Front 
Back
After son screws: simple, start collecting plastics, to do the washing.

3. Washing

Get all the parts, and soak them into hot water with regular soap. Use a brush.
Before front

Before back.


4. Sulfated battery connectors 

Simply use water and soap. If any remains use a nail file to take the rest out.

5. Replacing parts

Most old GBs have some damage parts, mine only had the LCD screen cover, founded at amazon. http://www.amazon.com/gp/product/B002J9R2LA/ref=oh_details_o01_s00_i01?ie=UTF8&psc=1 other GBs have other parts to replace, see links below.

6. Re-assembly

Put all the parts together now.

More link to view: