 |
| Gameboy original |
My old gameboy, the jewel I dreamed of as a kid. And finally, I bought this 2nd hand gameboy, and really used it ... after all the commercials I've seen, I got mine..
Time passed (this one is dated 1989), so it needed a refurbish. I read a lot about restoring. Here the steps:
1. Disassemble the GB
This is the worst part. Taking apart a gameboy, has its tricks, the greater are the triwing screws. The simple way is to get a screwdriver triwing (http://dx.com/p/large-triwing-trigram-screw-driver-6154), but there are two options:
Alternative A)Use a flash scredriver:
Alternative B) Make a triwing out of a pen:
Tried both, ended with using a flat screwdriver
 |
My attemps

The disaster I made |
I used bothe screwdrivers, one for getting the screw out (the first and hardest part) the other just to take it out.
The are 6 screws on the back of the case:
With patience and the links from above, you can figure out how to do this. The insides screws are cross, so no problem there.
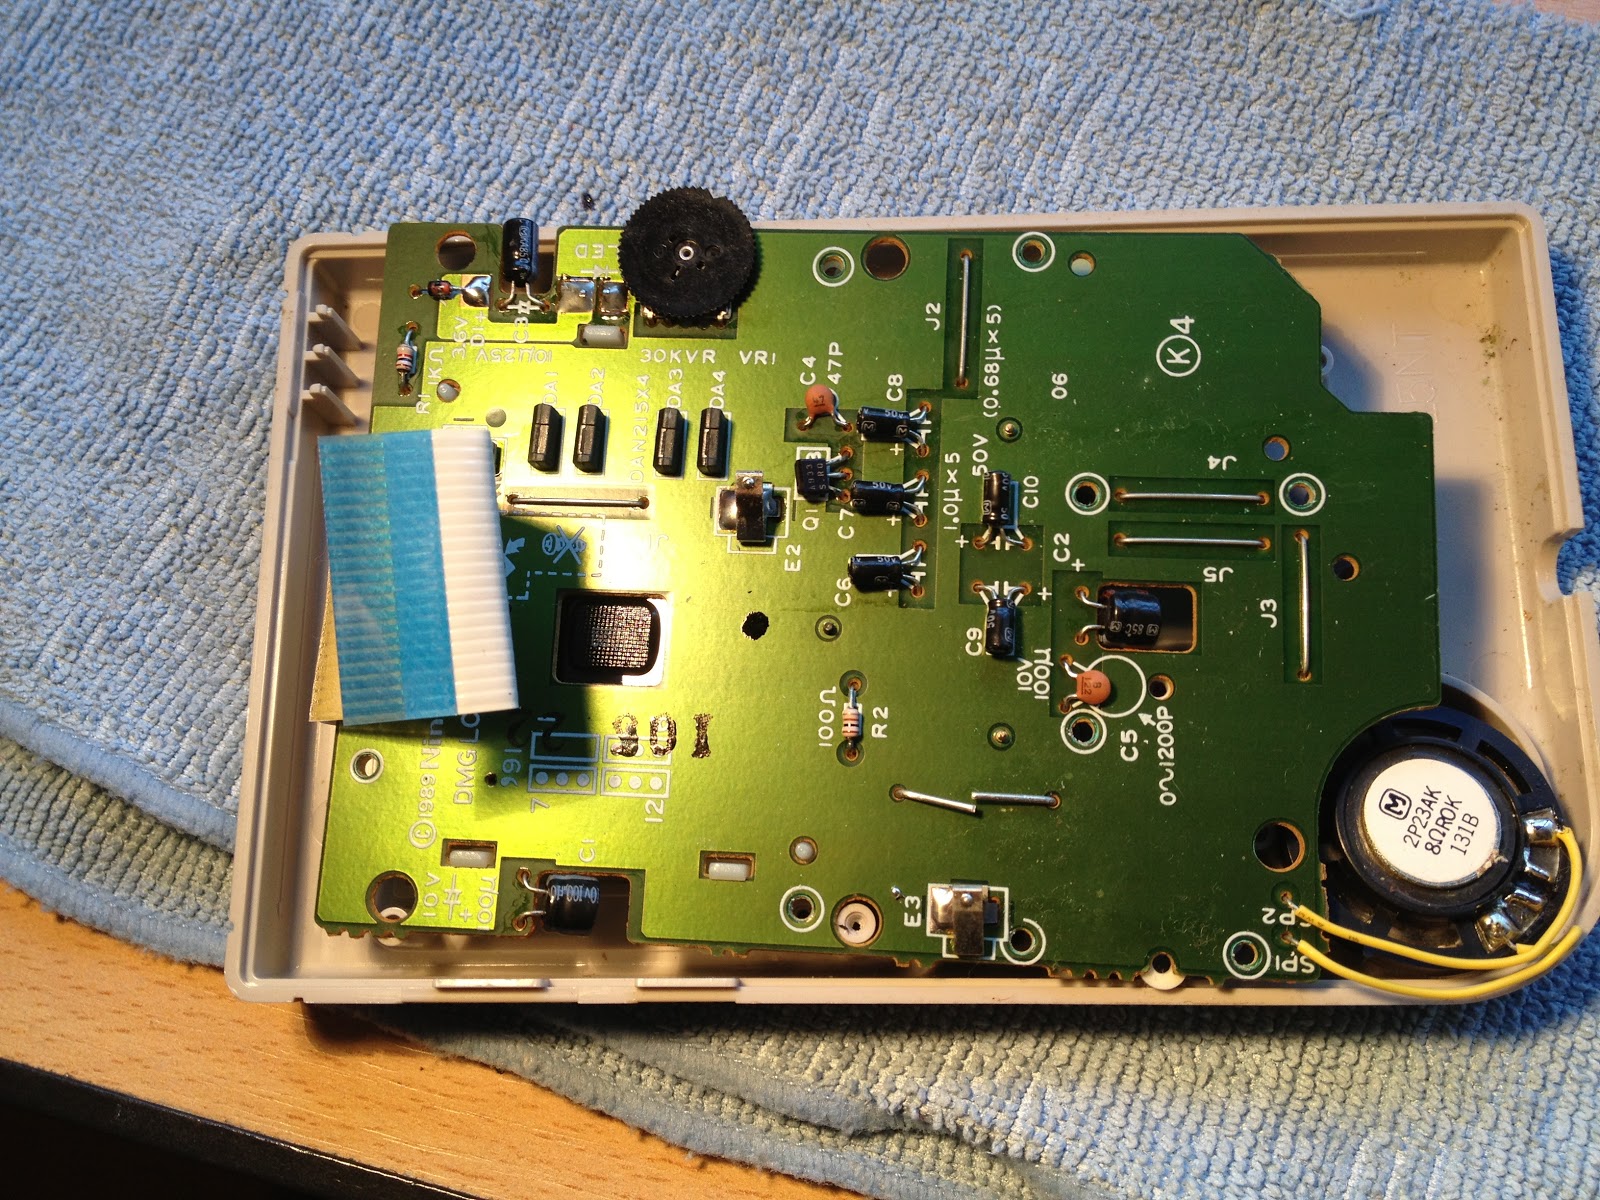
2.Open Gameboy
Once open , need to separate de LCD ribbon, you will end up with this two sides:
 |
| Front |
 |
| Back |
After son screws: simple, start collecting plastics, to do the washing.
3. Washing
Get all the parts, and soak them into hot water with regular soap. Use a brush.
 |
| Before front |
 |
| Before back. |
4. Sulfated battery connectors
Simply use water and soap. If any remains use a nail file to take the rest out.
5. Replacing parts
Most old GBs have some damage parts, mine only had the LCD screen cover, founded at amazon. http://www.amazon.com/gp/product/B002J9R2LA/ref=oh_details_o01_s00_i01?ie=UTF8&psc=1 other GBs have other parts to replace, see links below.
6. Re-assembly
Put all the parts together now.
More link to view:
Pictures of the finished product still to come.


